GitHub Repository
You can find the project source code on GitHub.
Deploy With Vercel
Deploy the project to Vercel with a single click.
Prerequisites
- An Upstash QStash API key.
- Node.js and npm (another package manager) installed.
Step 1: Installation
First, install the Workflow SDK in your SvelteKit project:- npm
- pnpm
- bun
Step 2: Configure Environment Variables
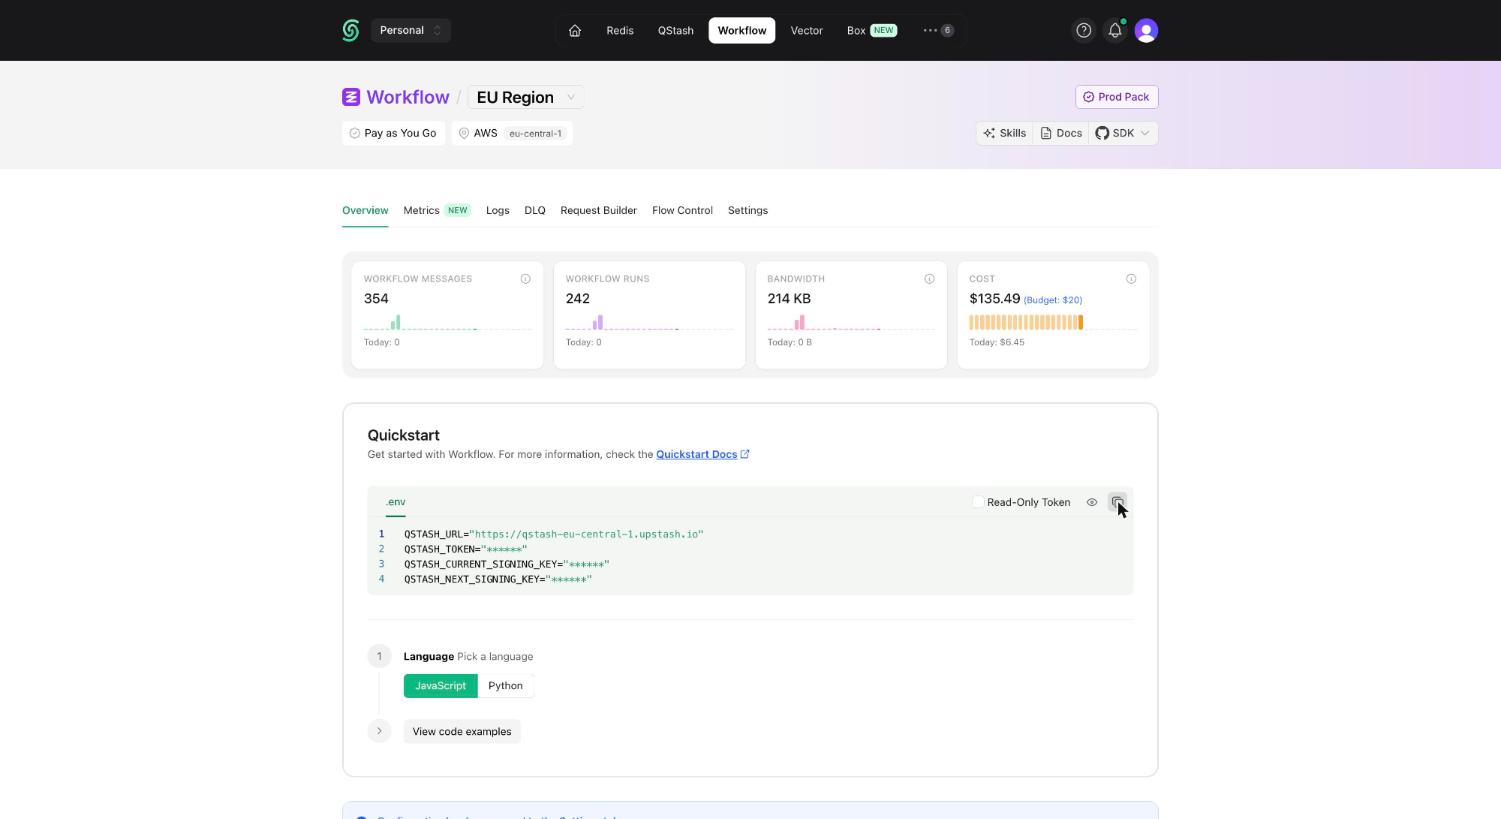
Create a.env.local file in your project root and add your QStash token. This token is used to authenticate your application with the QStash service.
Terminal
Option 1: Development Server
Since you are using@upstash/workflow, you can set QSTASH_DEV=true in your .env.local file. The SDK then downloads and connects to the local QStash development server automatically — no tokens or signing keys to copy over:
.env.local
serve() endpoint pick up the dev server automatically, including signature verification. This lets you test workflows locally without affecting your billing.
For ports, the registerQStashDev() helper, and other details, see the Development Server guide.
Option 2: Local Tunnel
Alternatively, you can set up a local tunnel. For this option:- Copy the
QSTASH_TOKENfrom the Upstash Console (see Get your QStash Token). - Update your
.env.localfile with the following:
- Replace
***with your actual QStash token. - Set
UPSTASH_WORKFLOW_URLto the public URL provided by your local tunnel.
Step 3: Create a Workflow Endpoint
A workflow endpoint allows you to define a set of steps that, together, make up a workflow. Each step contains a piece of business logic that is automatically retried on failure, with easy monitoring via our visual workflow dashboard. To define a workflow endpoint, navigate into SvelteKit’sroutes/api directory and create a new folder, for example called workflow. Inside this folder, create a +server.ts file that contains your workflow:
routes/api/workflow/+server.ts
Step 4: Run the Workflow Endpoint
After defining the endpoint, you can trigger your workflow by starting your app:Terminal
Terminal
Step 5: Deploying to Production
When deploying your SvelteKit application with Upstash Workflow to production, there are a few key points to keep in mind:-
Environment Variables: Make sure that all necessary environment variables are set in your platforms project settings. For example, your
QSTASH_TOKENand any other configuration variables your workflow might need. - Remove Local Development Settings: In your production code, you can remove or conditionally exclude any local development settings. For example, if you used local tunnel for local development
- Deployment: Deploy your app to Vercel, Netlify or other platforms as you normally would. These platforms will automatically detect and build your SvelteKit application.
-
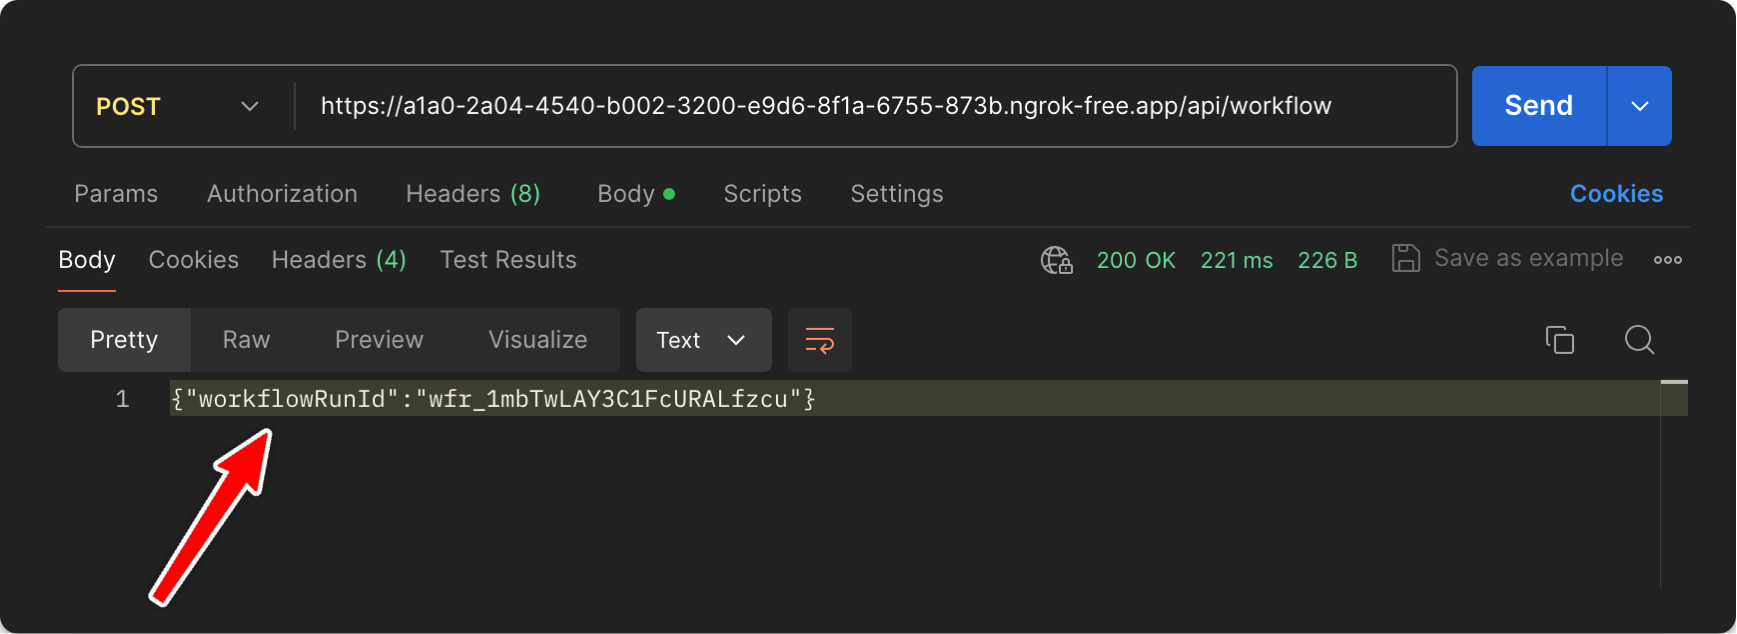
Verify Workflow Endpoint: After deployment, verify that your workflow endpoint is accessible by making a POST request to your production URL:
Terminal
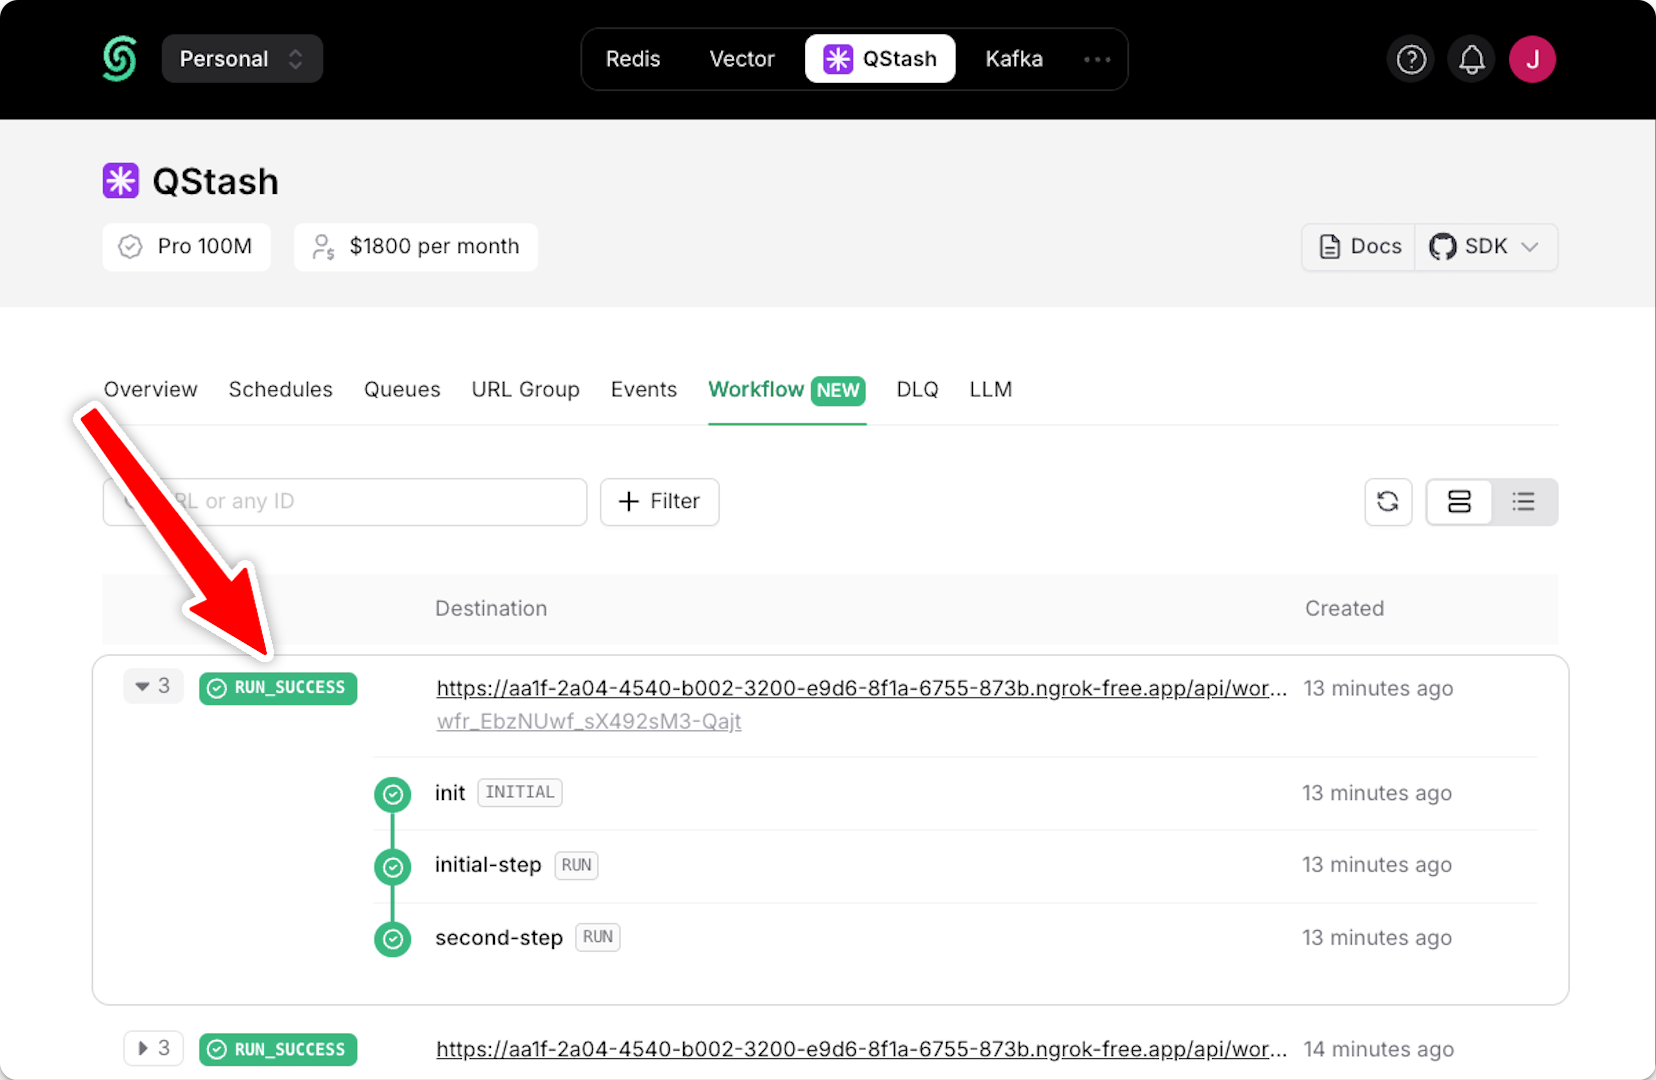
- Monitor in QStash Dashboard: Use the QStash dashboard to monitor your production workflows. You can track workflow runs, view step statuses, and access detailed logs.
- Set Up Alerts: Consider setting up alerts in Sentry or other monitoring tools to be notified of any workflow failures in production.
Next Steps
- Learn how to protect your workflow endpoint from unauthorized access by securing your workflow endpoint.
- Explore the source code for a detailed, end-to-end example and best practices.
- For setting up and testing your workflows in a local environment, check out our local development guide.